Anyhoo... I have been allowed a new endeavor at my wonderful job. (This job involves teenage girls in a residential.. ehm.. educational setting.) Starting tonight, I get to lead craft "club" with a group of my girls once a week on Mondays for an hour. I put club in quotations since technically it is compulsory for all the girls at the house I work at to attend. But, regardless, I am excited about it.
Tonight I wanted to start off with a bang.. something the girls would really like. My criteria for this was to find something that I myself would really like. And so I gave myself permission to spend hours and hours on Pinterest DIY and Crafts boards. And it was truly horrible..........
So what I ended up choosing as inspiration for my first Craft Night project was (drumroll): purses!
 |
| What a cute bag! I could totally do that! |
I found this pin, and went off to goodwill in search of supplies.
Turns out though... that I did not look close enough at the list of ingredients, and confused myself on what type of pillow case I was supposed to get. I just looked at this infographic...
 |
| Clearly I can't even read pictorial instructions... |
And thought I needed shams (the pillow cases that split in the middle as opposed to the bottom).
So I got lots of shams. And I chose one to be my demo piece (and also hopefully permanent piece). I picked this because I thought it was cute and liked that it was neutral, so theoretically it will go with most of my clothing.
 |
| My pillowcase! |
 |
| Which is a sham. |
Because I was in problem solve mode, I didn't take pictures of the process, so I've tried to show with pictures of the finished piece... but the steps go a little like this:
Gather ingredients. You will need a pillow sham, scissors, and old t-shirts to cut up.
Lay the pillowcase with the split side up. The part of the split that is on top will be the main pouch part of the bag. Fold the corners on this side of the sham up to the split, folding them up and under themselves. The corners should be flat against the crack, and should be showing the same side of fabric.
 |
| Three layers to go through here |

Then, it's time to work on the strap. For this, I just took 4 strips cut from the t-shirts. Be sure to use strips that come off horizontally from the main part of the shirt, both front and back. This needs to be long enough to fit over your shoulder and head comfortably. I used 4 strips to make sure it would be thick enough to not dig into my neck every time I wear the bag. Braid the strips together in whatever method seems best to you. Then attach the strap in the edging of the pillow sham at about where the slit is.
Fold over the top of the pillow sham. If you like the way this looks, you can stop here. Otherwise, you can connect the top part by bringing the corners together and securing with a strip of t-shirt.

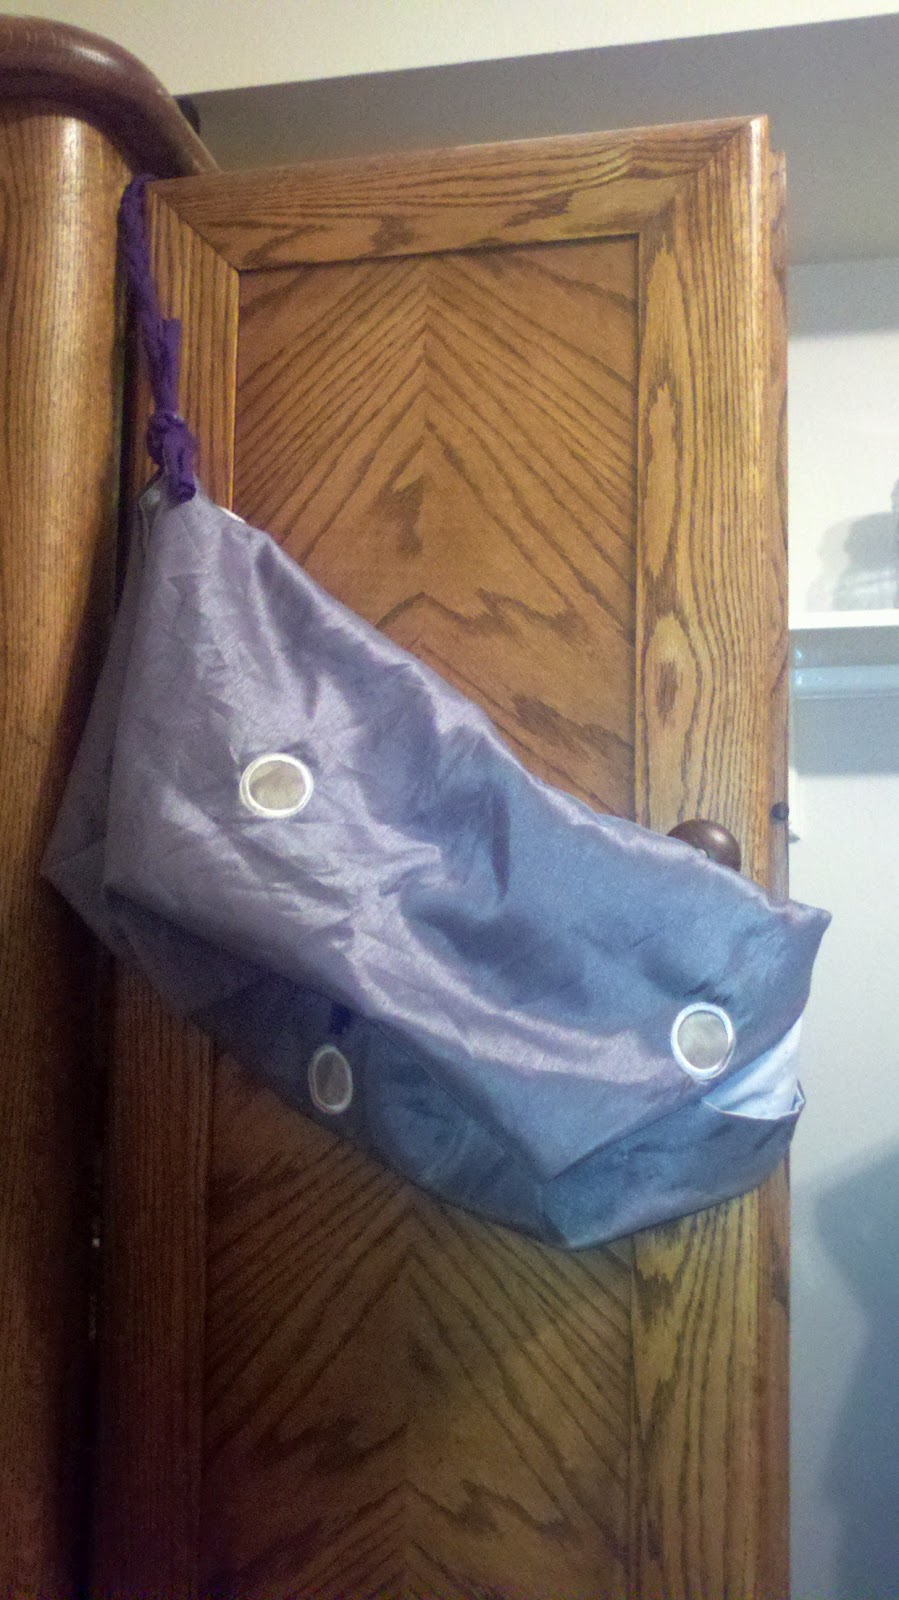
Fold the top back over and VOILA! You have a bag.

Mine fits comfortably messenger bag style - over the head and neck. It holds a normal camelbak water bottle, my wallet, keys, etc. The front part which was folded up at the beginning makes an extra pocket, and there is a little secret pocket in the top part of the bag which folds over.
All in all - the project cost me about $3, probably less.
When I did the project with my girls, some chose to add beads to the t-shirt strips that were still hanging. Depending on the pillow sham you end up with, you could also add decorations with paint or buttons or beads.
More to come next Monday!

